Illustrator绘制漂亮的矢量风格笔记本
-

AI霓虹文字设计 用Illustrator制作立体灯管艺术字设计教程
这篇用AI制作立体灯管艺术字出自大P设计帮帮忙,算是一个实例问题讲解的教程,非常细致。希望大家可以喜欢。
-

用AI绘制可爱小柯基插画图片的插画设计教程
在本教程中,我们将使用简单的线条创建一个可爱的小柯基。创建此插图时,我们有两个选项:可以使用铅笔工具绘制线条,或者是使用弧形工具,然后从中创建所需的曲线。在那之后,再为插图
-

用AI绘制2.5D等距立体图标的Illustrator立体图标设计教程
教你用Illustrator 绘制2.5等距立体图标,绝对小白教程,良心教程,学会之后什么纪念碑谷,不可能图形,立体场景通通不在话下。网络上关于等距场景的绘制教程还是很多的,但是大多数都
Step 14
Ungroup the lines you just expanded and adjust their horizontal length.
You cannot give strokes a gradient, so, using the Rectangle Tool (M) draw a very thin rectangle and give it a slightly darker blue gradient. Draw a small curved line and give it a darker blue color too.

Step 15
Place your new elements on the page curl section.

Step 16
This is what your design should look like right now.

Step 17
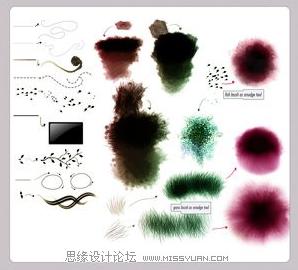
Easily make random stains on the paper by using the Artistic Ink panel. Go to Brush Libraries > Artistic > Artistic Ink. You can drag the swatches right onto the page or you can draw a line using the Pen Tool and apply the swatch to the line. To further edit the ink swatches you'll need to expand the ink first.
If you're familiar with Illustrator you may be able to recognize when someone is using built-in ink swatches. To remedy this simple alter the ink swatches by using the Crystallize Tool (found under the Warp Tool, Shift + R.) Or, try using a variety of warping tools to achieve some interesting results.

Step 18
Give your stains some gradients, set their Transparency to Multiply and adjust their Opacity to help them blend with the paper.